Last minute tee inspiration
Etsy is a great place to shop, to support DIY crafters, and to get inspiration.
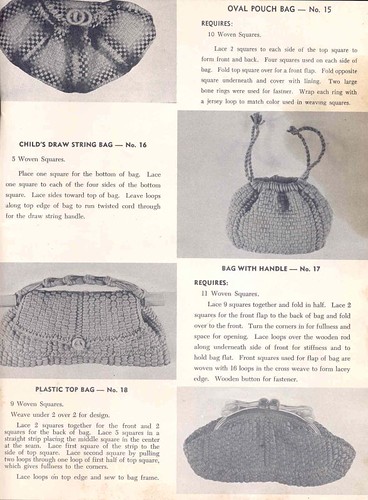
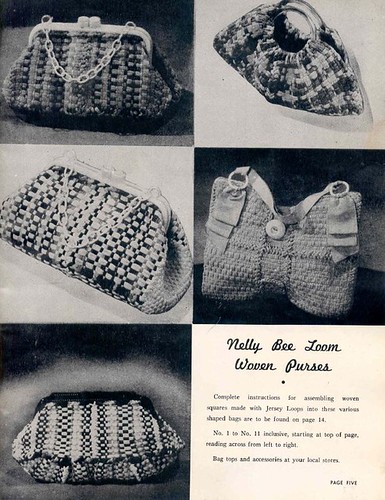
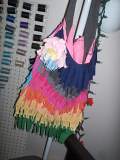
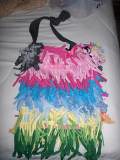
Look at all the things you can make from a t-shirt!
Fabric tote with appliqued t-shirt design, by GetFEROCIOUS

Eye of Zion tote by NansRedesigns

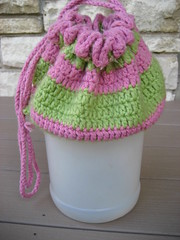
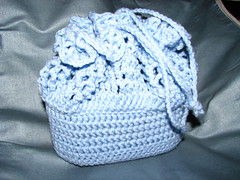
The Magic Purse, by TangledDaisies
 Also her cute drawstring bag

Lost in Music tote, by BluePlanetCreations

Sturdy England tote, by NerdBomber

Woven hobo bag (made on a loom!) from CourtneyCastle

Look at all the things you can make from a t-shirt!
Fabric tote with appliqued t-shirt design, by GetFEROCIOUS

Eye of Zion tote by NansRedesigns

The Magic Purse, by TangledDaisies
 Also her cute drawstring bag
Lost in Music tote, by BluePlanetCreations

Sturdy England tote, by NerdBomber

Woven hobo bag (made on a loom!) from CourtneyCastle

Labels: etsy links, inspiration from others, project #7 ideas
posted by woof nanny at
11:22 AM
3 Comments
![]()